Unleash the Creamy Potential: What is Whipped Greek Yogurt?
Imagine a topping that's luxuriously creamy, light as air, yet brimming with protein and gut-friendly probiotics. That, my friends, is the magic of whipped Greek yogurt. Far from its humble, thick origins, whipping transforms plain Greek yogurt into an ethereal, cloud-like concoction that can elevate everything from breakfast parfaits to decadent desserts. It’s a game-changer for those seeking a healthier, lower-calorie, and protein-packed alternative to traditional whipped cream, sour cream, or even cream cheese. The process is surprisingly simple, yet the results are profoundly impressive. By incorporating air, Greek yogurt loses its dense texture and becomes wonderfully fluffy, developing a delicate tang that beautifully complements both sweet and savory dishes. This article will guide you through mastering the art of making perfect whipped Greek yogurt, ensuring you achieve that coveted silky-smooth consistency every single time. Get ready to discover your new favorite versatile ingredient! For a deeper dive into its health benefits, you might want to explore Why Whipped Greek Yogurt is Your New Favorite Healthy Treat.Essential Tools and Ingredients for Perfect Whipped Greek Yogurt
Achieving that ideal light and airy consistency starts with the right components and equipment. Don't worry, you likely have most of these in your kitchen already!The Star Ingredient: Greek Yogurt
- Full-Fat, Plain, Unsweetened Greek Yogurt: This is your best friend. The higher fat content lends itself to a richer, more stable whipped texture. While low-fat or non-fat can work, they tend to be less robust and might not hold their volume as well. Always opt for plain and unsweetened to give you full control over the flavor profile.
- Cold Yogurt: Just like whipping cream, cold Greek yogurt whips up better and holds its shape longer.
Optional Flavor Enhancers and Sweeteners
While plain whipped Greek yogurt is delicious, you can customize it to suit your taste or the dish you're pairing it with.
- Sweeteners:
- Honey or Maple Syrup: Adds natural sweetness and a lovely aroma. Start with a small amount and adjust to taste.
- Powdered Sugar: Dissolves easily, giving a smooth finish.
- Stevia or Erythritol: For sugar-free options.
- Extracts:
- Vanilla Extract: A classic for a reason, it enhances almost any sweet application.
- Almond, Lemon, or Peppermint Extract: For specific flavor profiles.
- Zest: Lemon, orange, or lime zest adds a bright, refreshing zing.
- Spices: Cinnamon, nutmeg, or cardamom can add warmth and depth.
Your Whipping Arsenal: Essential Equipment
- Stand Mixer with Whisk Attachment: The easiest and most efficient method, especially for larger batches. The whisk attachment incorporates maximum air.
- Electric Hand Mixer: A great alternative if you don't have a stand mixer. Ensure you use the whisk attachments.
- Large Mixing Bowl: Choose a bowl with high sides to prevent splattering as the yogurt whips. Ideally, use a chilled metal or glass bowl for best results.
- Rubber Spatula: For scraping down the sides of the bowl and folding in any additions.
Step-by-Step Guide: Crafting Your Silky Smooth Whipped Greek Yogurt
Ready to transform your yogurt? Follow these simple steps for perfectly light and fluffy whipped Greek yogurt.Step 1: (Optional but Recommended) Drain Your Greek Yogurt
This step is crucial for achieving the thickest, most stable whipped yogurt, especially if your Greek yogurt seems a bit thin or you're using a low-fat variety. Draining removes excess whey, concentrating the yogurt and improving its whipping potential.
- Line a fine-mesh sieve with a few layers of cheesecloth or a coffee filter.
- Place the sieve over a bowl, ensuring the bottom of the sieve doesn't touch the bowl's base.
- Spoon the Greek yogurt into the lined sieve.
- Cover lightly and refrigerate for at least 30 minutes, or up to several hours (or even overnight for an extra thick result). The longer you drain, the thicker your yogurt will become. Discard the collected whey.
Step 2: Chill Your Equipment (Optional but Helpful)
While not as critical as with heavy cream, chilling your mixing bowl and whisk attachment (from your stand mixer or hand mixer) for 10-15 minutes in the freezer can help maintain the yogurt's cold temperature, resulting in a slightly better whip and stability.
Step 3: Combine and Prepare to Whip
- Transfer the chilled (and drained, if applicable) Greek yogurt to your cold mixing bowl.
- If adding sweeteners or extracts, incorporate them now. Start with a small amount of sweetener (e.g., 1-2 tablespoons per cup of yogurt) and a teaspoon of vanilla extract. You can always add more later.
Step 4: Whip It Good!
This is where the magic happens:
- Using a Stand Mixer: Attach the whisk attachment. Start on low speed for 30 seconds to combine ingredients, then gradually increase to medium-high speed.
- Using an Electric Hand Mixer: Place the beaters into the yogurt. Start on low speed, then gradually increase to medium-high.
- Whip Time: Continue whipping for 2-5 minutes. The time will vary depending on your mixer's power and the yogurt's consistency.
- Observe the Transformation: The yogurt will initially look thick and slightly lumpy. As you whip, it will gradually smooth out, become noticeably lighter in color, and increase in volume. It will develop a smooth, airy, and creamy texture. It won't form stiff peaks like whipped cream, but rather soft, pillowy mounds.
- Do NOT Over-Whip: Unlike cream, over-whipping Greek yogurt can cause it to thin out and lose its structure, becoming grainy or separating. Stop as soon as it reaches that lovely, light, and airy consistency.
Step 5: Taste and Adjust
Once whipped, give your whipped Greek yogurt a taste. If it needs more sweetness or flavor, add small amounts and gently fold them in with a spatula or briefly whip on low speed until combined.
Step 6: Serve Immediately or Store
For the best texture, serve your freshly made whipped Greek yogurt immediately. If you need to store it, transfer it to an airtight container and refrigerate for up to 2-3 days. It may lose a little volume over time, but a quick re-whip on low speed for 30 seconds can often revive its fluffiness.
Elevating Your Whipped Greek Yogurt: Flavor Variations and Serving Ideas
The beauty of whipped Greek yogurt lies not only in its delightful texture but also in its incredible versatility. Once you've mastered the basic recipe, the possibilities for flavor customization and serving are endless.Inspiring Flavor Combinations
- Berry Blast: Swirl in a tablespoon of berry jam, fruit puree, or a dash of freeze-dried berry powder for natural sweetness and color.
- Chocolate Dream: Fold in a tablespoon of unsweetened cocoa powder and a touch more sweetener for a guilt-free chocolate treat.
- Lemon Zest & Honey: A classic pairing that offers a bright, refreshing, and subtly sweet profile.
- Pumpkin Spice: Perfect for autumn! Add a pinch of pumpkin pie spice and a spoonful of maple syrup.
- Coffee Kick: Mix in a tiny amount of instant espresso powder or coffee extract for an elegant twist.
Creative Serving Suggestions
This fluffy concoction isn't just for breakfast! Its adaptability allows it to shine in a multitude of culinary roles.
- Breakfast Booster: Dollop generously over granola, fresh fruit, oatmeal, pancakes, or waffles.
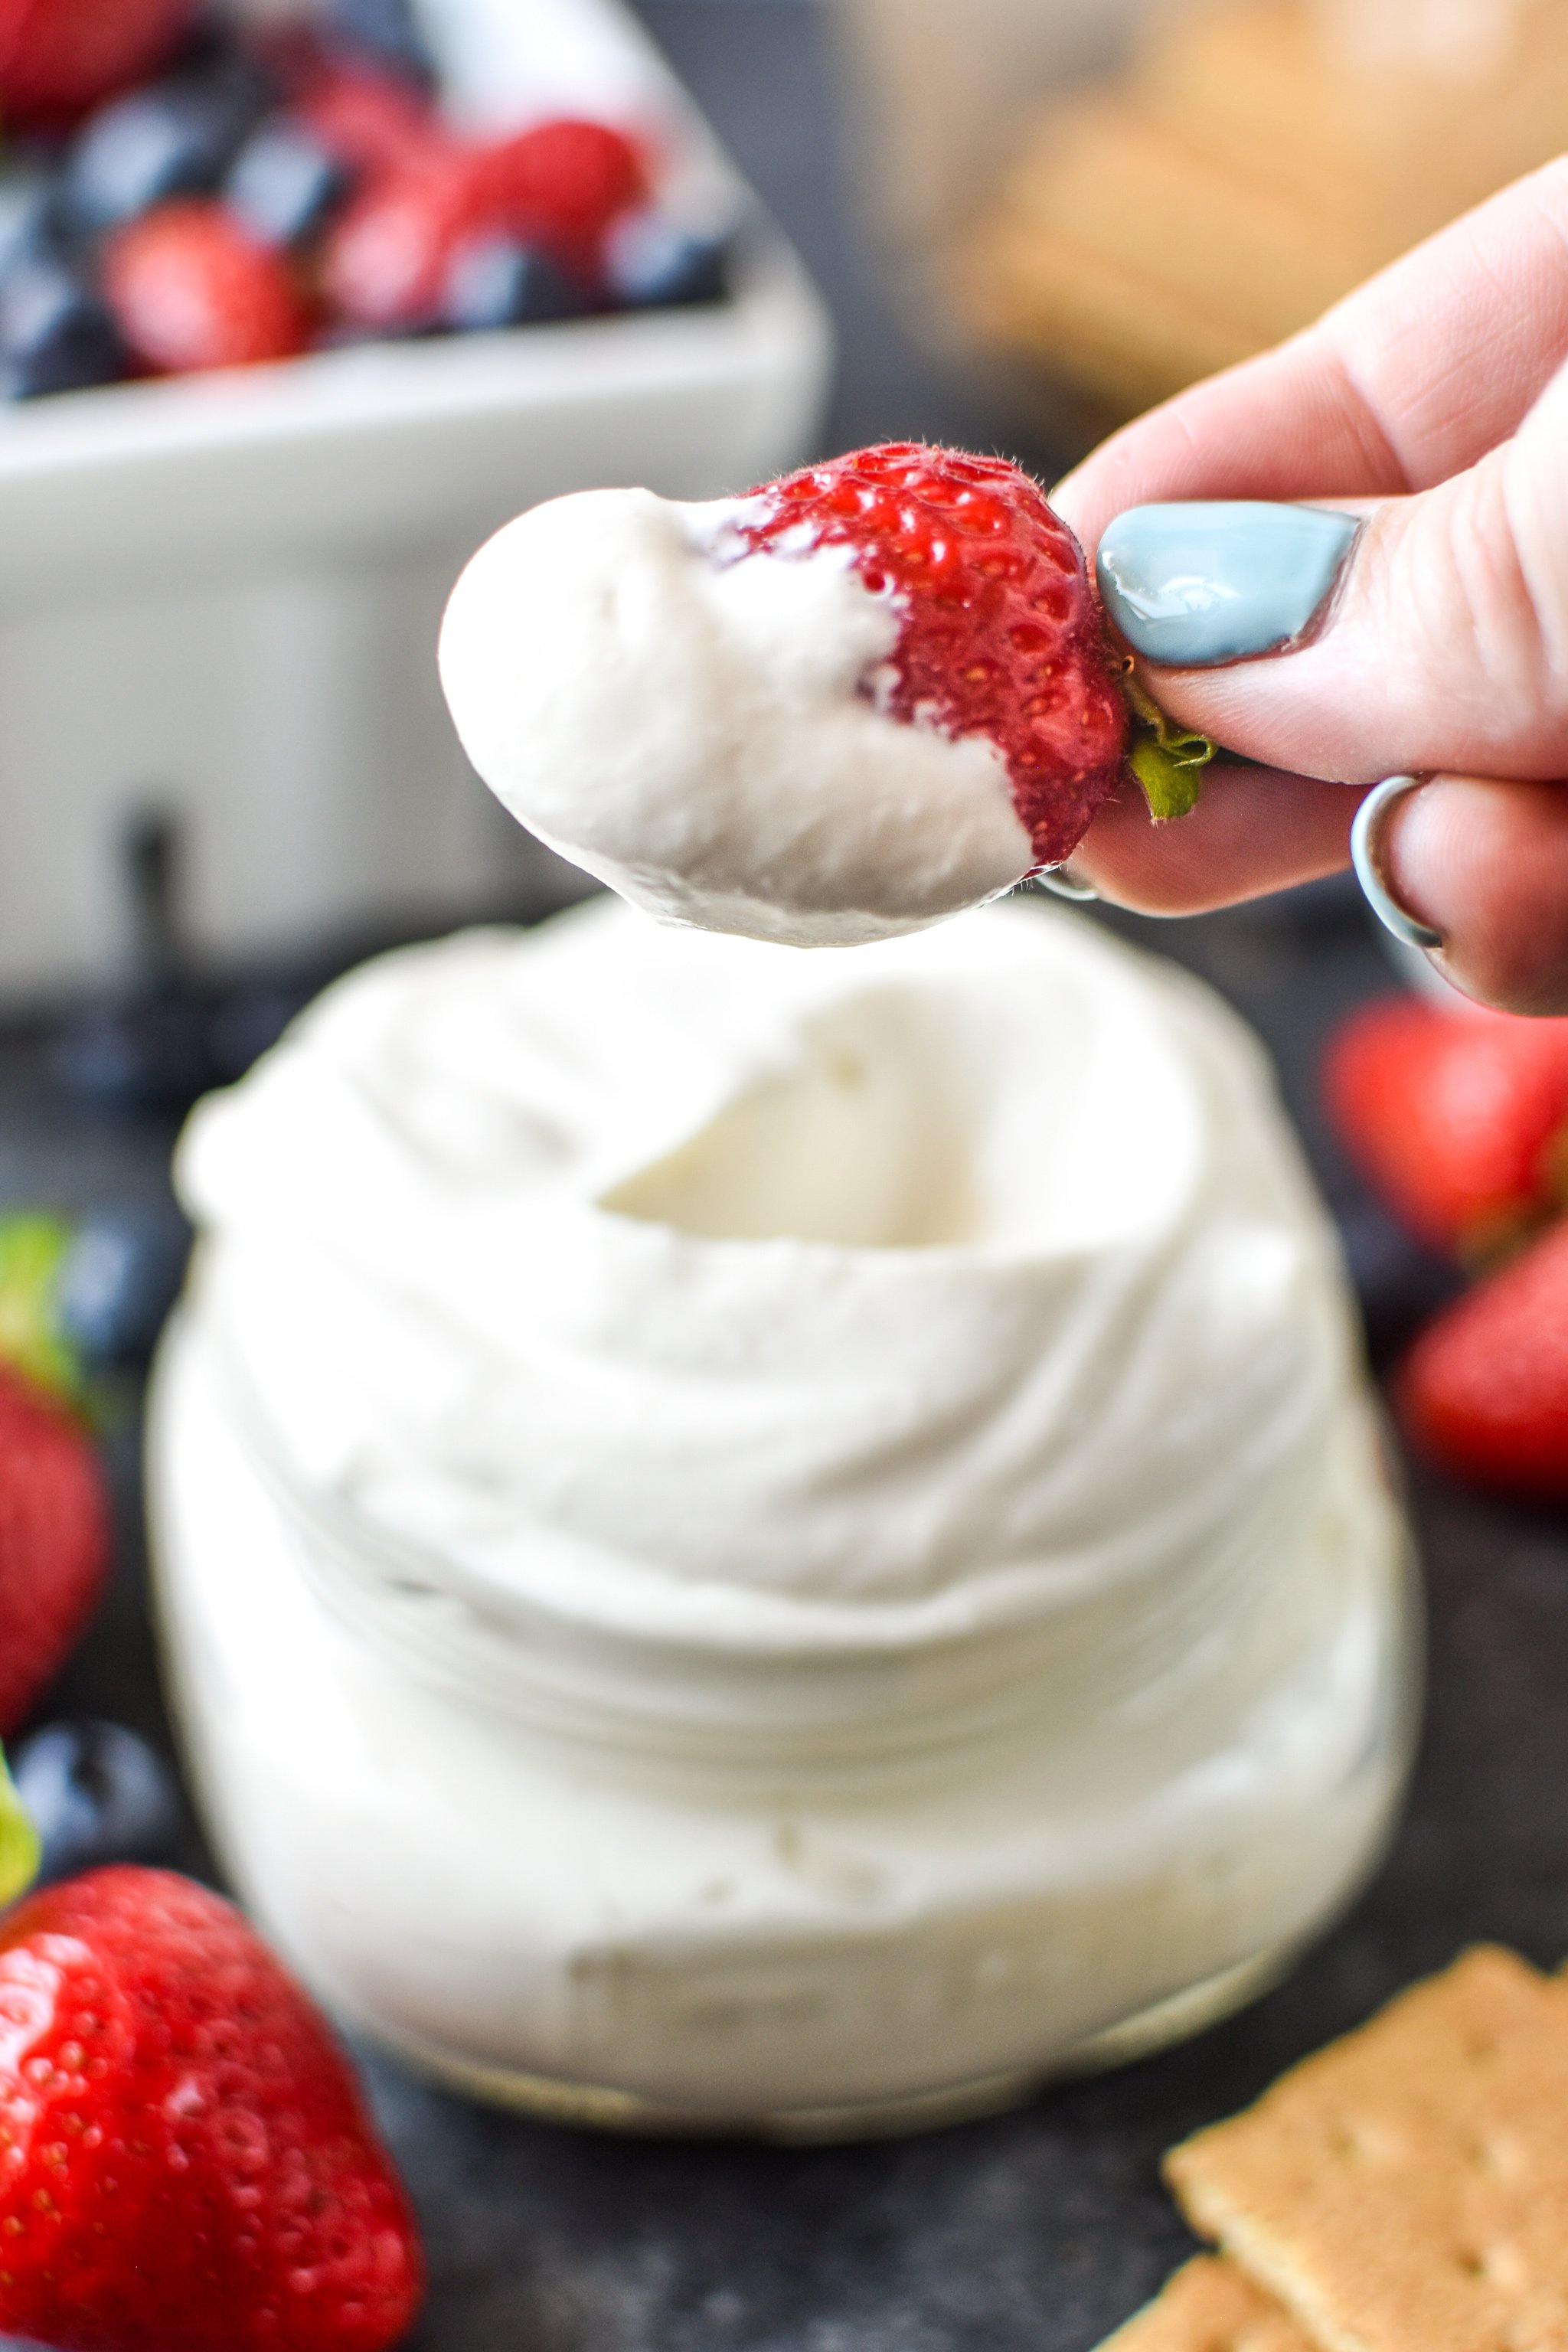
- Dessert Dynamo: Use it as a healthier topping for cakes, pies, fruit tarts, or simply serve with a bowl of fresh berries. It makes an excellent dip for fruit skewers!
- Savory Swirl: Don't underestimate its savory potential! Replace sour cream on tacos, nachos, or baked potatoes. Swirl it into creamy soups or serve alongside grilled meats for a tangy contrast.
- Smoothie Base: Add a spoonful to your smoothies for extra creaminess and protein.
- Quick Parfait: Layer it with crushed graham crackers or granola and your favorite fruit for an instant, healthy dessert.
Looking for even more innovative ways to use this fantastic ingredient? Check out Elevate Your Dishes: Creative Whipped Greek Yogurt Ideas for a wealth of inspiration!
Troubleshooting Common Whipping Woes
While making whipped Greek yogurt is generally straightforward, occasionally you might encounter a few hiccups. Here's how to address them:- My whipped Greek yogurt is too thin/runny:
- Solution: This is often due to insufficient draining. Next time, try draining the yogurt for a longer period (several hours or overnight). Also, ensure you used full-fat Greek yogurt, as lower-fat versions tend to be thinner.
- It separated or became grainy:
- Solution: This usually means you've over-whipped it. Unlike heavy cream, Greek yogurt can become grainy and thin if beaten for too long. Stop whipping as soon as it reaches a light, airy consistency. There's not much you can do to save it once separated, so it's better to start fresh.
- It's not getting fluffy:
- Solution: Ensure your yogurt is very cold. Also, make sure you're using a whisk attachment (either on a stand mixer or hand mixer) as this incorporates the most air. Using a regular paddle attachment won't achieve the desired fluffiness.
- It lost its volume after sitting:
- Solution: Whipped Greek yogurt is best enjoyed fresh. While it stores well, it will naturally lose some of its airiness over time. A quick re-whip on low speed for 30 seconds can often revive it, but it may not be as voluminous as freshly whipped.
